
Last updated November 15, 2026
 AC repair
 Furnace & heating
 Heat pumps
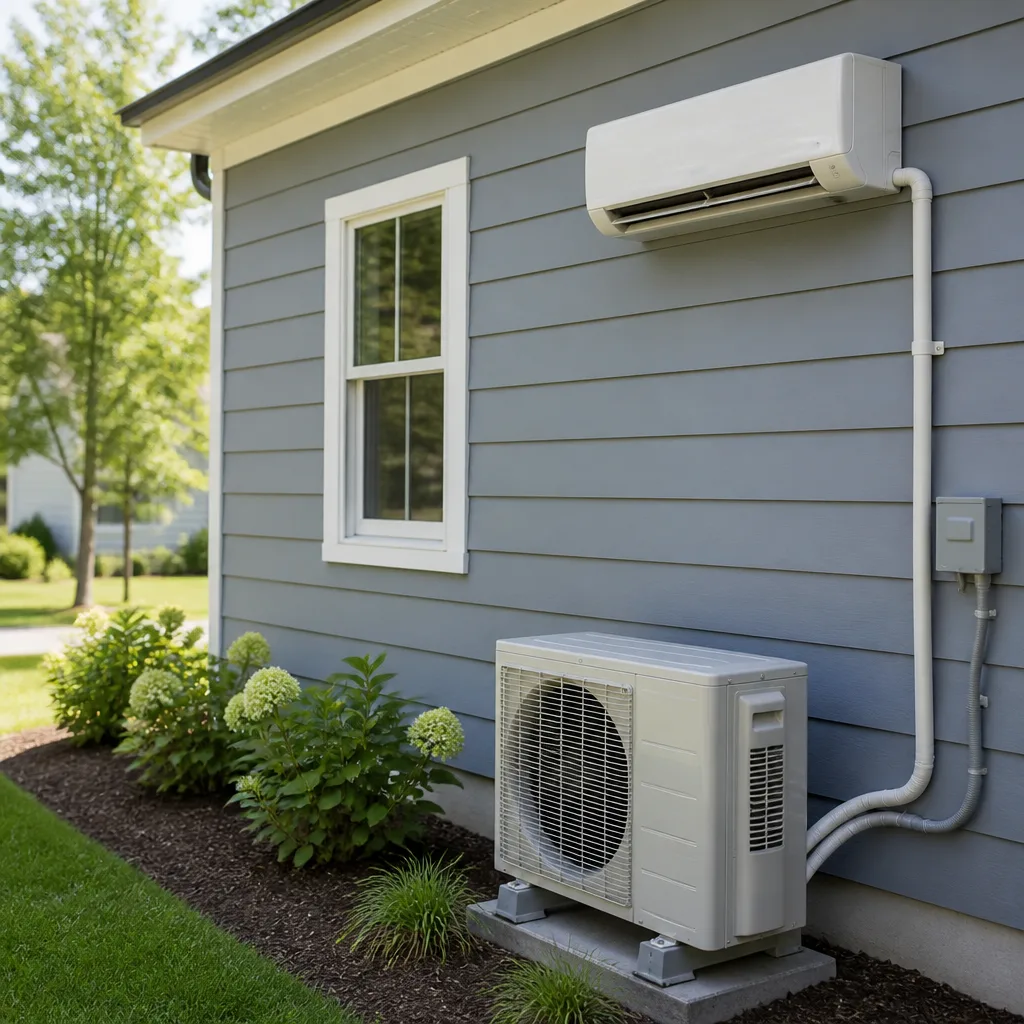 Ductless mini splits
 Carrier
 Trane
 Goodman
Seasonal tune-up and full diagnostic on your Carrier, Trane, or Goodman system - readings shown to you before any repair is proposed
Diagnosis first, numbers second - you approve the repair price before a single part goes in.
Get your free estimateAC Installation Troubleshooting in Sunnyvale: Common Problems and How to Fix Them
If your brand-new AC runs constantly but never quite cools the house, the system itself is probably fine. The problem is almost certainly one of three installation errors that show up in rushed or DIY-adjacent installs: incorrect refrigerant charge, a disconnected return air pathway, or a thermostat in the wrong location. None of those are manufacturing defects, and all three are fixable without replacing equipment. In this guide we walk through how to tell an installation problem from a factory problem, how to test airflow with nothing but your phone, why a new system short-cycles in Sunnyvale spring weather, and what paperwork to gather before you call the installer back.
Quick Answer
Most post-installation AC problems in Sunnyvale trace back to a small set of root causes: wrong refrigerant charge from skipped vacuum and leak testing, blocked or disconnected return air, thermostat placement errors, undersized ductwork, or an oversized system cycling too fast for our mild shoulder seasons. You can confirm several of these yourself in ten minutes using a thermometer app and a visual check of your return grilles. The rest need a technician with gauges and a manifold. Knowing which category your symptom falls into is what turns a vague complaint into a productive callback.
Styles & brands we work with
- AC repair
- Furnace & heating
- Heat pumps
- Ductless mini splits
- Carrier
- Trane
- Goodman
Table of Contents
- Installation Defect vs. Manufacturing Defect: Why the Difference Matters
- The Real Symptoms of an Incorrect Refrigerant Charge
- Airflow Troubleshooting With Just a Phone Thermometer
- Why a New System Short-Cycles in Sunnyvale’s Spring Temperatures
- Thermostat Placement and Wiring Mistakes
- The Documentation Checklist Before You Call the Contractor Back
- Brand-Specific Notes: Goodman, Rheem, York, and Daikin
- When to Call a Professional
Installation Defect vs. Manufacturing Defect: Why the Difference Matters
Warranty coverage on a new air conditioner depends entirely on which kind of defect you’re dealing with. A manufacturing defect is a failure inside the equipment itself, something the factory got wrong. An installation defect is something the installing contractor got wrong during setup. Manufacturers cover the first. Contractors are responsible for the second. That distinction decides who pays for the fix, and it’s the single most common point of confusion when a homeowner calls us after a rough install.
Here’s how to tell them apart in practice:
- Manufacturing defect signals: a failed compressor or capacitor within the first season, a leaking coil with no installation cause, a control board that won’t communicate with the thermostat. These usually show up as hard failures, not gradual performance drift.
- Installation defect signals: the system works but underperforms, cools one side of the house and not the other, cycles too often, or shows correct refrigerant pressures on paper while the house never hits setpoint. These are tuning and setup problems, not broken parts.
If a technician tells you the equipment is “bad” and needs replacing within the first year, ask for the actual test readings that support that claim: subcooling, superheat, static pressure, and temperature split. Those four numbers tell you which category you’re in. A technician who can’t or won’t produce them is guessing. Brand matters less than setup here, whether you own a Goodman or a Trane.
We work on the equipment side and the installation side every day, and in our experience a homeowner who can describe the symptom precisely gets a faster, more accurate diagnosis regardless of who installed the system. That’s why the paperwork matters as much as the equipment.
The Real Symptoms of an Incorrect Refrigerant Charge
Incorrect refrigerant charge is the most common installation error we see on systems that were commissioned without proper vacuum and leak testing. “Blowing warm” is the symptom everyone knows, but it’s actually the least diagnostic one. By the time an AC blows entirely warm, you’re usually looking at a bigger failure. Incorrect charge has a subtler set of tells.
Watch for these:
- Long runtimes with only modest cooling. The system runs constantly, the house eventually reaches setpoint but takes hours longer than it should, and the air coming out of the vents is cool but not cold.
- High humidity indoors. An undercharged system can’t pull enough moisture out of the air. The house feels clammy even when the thermostat reads 74.
- Frost or condensation on the suction line. The larger insulated copper line running from the outdoor unit to the house should be cold and dry. Frost on it means the charge is off.
- Frequent cycling off on a safety switch. Many systems have a low-pressure switch that trips when charge drops, and the system shuts down to protect the compressor.
- The outdoor fan running while the compressor strains or cuts out. That pattern points to a pressure problem, not a fan failure.
Why does charge go wrong so often? Fast installs skip the vacuum step, or the installer doesn’t weigh in the charge against the line-set length. An AC installed in Sunnyvale with a long line set and no adjustment to the factory charge will be off. The fix is a technician pulling out gauges, measuring subcooling and superheat, and adjusting to spec. That’s a same-day visit, not a replacement.
One safety note: never attempt to add or recover refrigerant yourself. It’s a pressurized, regulated refrigerant and the risk of injury or system damage is real. This is one of those jobs that belongs to a trained professional with the right equipment.
Airflow Troubleshooting With Just a Phone Thermometer
If your system runs constantly and cools weakly, airflow is the next thing to rule out before assuming the equipment is bad. Weak cooling is often a blower issue, a duct restriction, or a return air blockage, and in a lot of Sunnyvale homes the return air path is the culprit. Many houses were built or renovated without enough return capacity, and a new system can’t overcome a choked return.
Here’s a diagnostic sequence you can run in about ten minutes with a phone thermometer app:
- Measure the temperature at a supply register. Hold your phone near the vent with the AC running for two minutes. Note the reading.
- Measure the temperature at the return grille. Do the same at the return, ideally before the air passes through the filter.
- Subtract the supply temperature from the return temperature. A healthy system shows a split of roughly 18-22 degrees Fahrenheit. Less than 15 suggests airflow or charge problems. More than 25 suggests restricted airflow.
- Check the return grille visually. A blocked, undersized, or disconnected return grille is a common post-installation problem. A return that pulls hard enough to bow the filter or whistle points to restriction.
- Feel the supply air in every room. If some rooms get strong flow and others are weak, the problem is likely in the ductwork, not the equipment.
- Note whether the blower sounds labored. A humming or straining blower can point to a failing motor, a dirty filter, or a blower wheel that’s out of balance.
The split test isn’t a substitute for a technician’s static pressure reading, but it tells you which category your symptom falls into. If the split is low and return air feels weak, you’ve likely got an airflow problem the installer should correct. If the split is low and all returns feel strong, charge is the more likely culprit. Bring the numbers to your callback and you’ll save a diagnostic cycle.
Since our area’s summers swing from mild mornings to hot afternoons, airflow problems show up hardest in the late afternoon. A system that barely cools at 4pm but handles mornings fine is telling you the airflow can’t keep up when the load peaks.
Why a New System Short-Cycles in Sunnyvale’s Spring Temperatures
A brand-new air conditioner that short-cycles in Sunnyvale spring weather is usually oversized. Our spring afternoons are mild, sometimes only in the low 70s, and an oversized system reaches setpoint fast, then shuts down before it runs long enough to remove humidity. You’ll notice short runtimes, high indoor humidity, and a house that never feels quite comfortable even though the thermostat says it should.
Oversizing isn’t just an equipment problem. It comes from skipping the load calculation. Every proper installation begins with a room-by-room load calculation that accounts for window area, insulation, orientation, and local climate data. When an installer sizes by square footage or by “matching the old unit,” that calculation gets skipped, and the result is a system too big for the house. One more common cause: a two-stage or variable-speed system wired to run as single-stage. That’s a setup error, not an equipment defect, and the installer should fix it.
So what can a homeowner reasonably demand from the installer to fix it? Here’s a fair ask:
- A copy of the load calculation used to size the system. If it doesn’t exist, ask why.
- Written confirmation of the manufacturer’s minimum and maximum cycle times for the unit’s intended mode.
- A technician visit to check thermostat configuration, dip switch settings, and blower speed. Frequent causes of oversizing symptoms are correctable without swapping equipment.
- If the load calculation genuinely shows the unit is oversized, a replacement at the correct size. That’s a warranty-adjacent conversation and the installer should own it.
Short-cycling also wears out the compressor faster. Every start is a high-current event, and a system that starts ten times an hour instead of four is aging much faster than its rated life. Don’t let this one slide because the house seems “mostly cool.”
Thermostat Placement and Wiring Mistakes
Thermostat problems are the wildcard in installation troubleshooting. Placement can mimic a mechanical failure, and wiring errors can produce symptoms that look like a bad compressor. A thermostat mounted on an exterior wall, in a hallway next to a return grille, or in direct afternoon sun in Sunnyvale will read a false temperature and cycle the system prematurely.
Here’s a quick check:
- Location: A thermostat should sit on an interior wall, roughly five feet off the floor, away from exterior walls, direct sun, supply registers, kitchens, and bathrooms.
- Sealing: The hole behind the thermostat where the wires come through should be sealed. Air leaking from inside the wall changes the sensor reading.
- Wiring: Loose or mislabeled low-voltage wires are a common installation error. Symptoms include the system not turning on in cooling mode, a fan that runs constantly, or the AC turning on unpredictable times.
- Configuration: Modern thermostats need to be told what kind of system they control. A thermostat set for a heat pump when the home has a straight-cool AC will misbehave.
If your thermostat is a smart model, the installer should have configured the equipment types, staging, and fan settings in the setup menu. If those were never configured, the thermostat is guessing. A five-minute conversation with the installer about setup gets most of these fixed.
The wiring itself is low voltage, so it’s not dangerous the way electrical panel work is, but a loose wire at the terminal strip can cause intermittent behavior that’s hard to chase. If your system’s symptoms seem random, the wiring is worth checking before replacing anything.
The Documentation Checklist Before You Call the Contractor Back
Homeowners who call us after a problem install, and homeowners calling their original installer, get a much better outcome with the right paperwork in hand. The visit stops being a guessing game and becomes a check against the commissioned readings. Here’s what to gather before you pick up the phone.
Before the callback, collect:
- The commissioning sheet. A proper install includes a startup sheet with measured subcooling and superheat values, static pressure, and the target temperature split. If you don’t have one, ask the installer for it in writing.
- The equipment model and serial numbers. These are on a data plate on the outdoor unit and the indoor air handler. Photograph both.
- The load calculation. The room-by-room calculation used to size the system. If the installer doesn’t have one, that’s your first red flag.
- Photos of the install. Line set routing, electrical connections, the drain line, and the outdoor unit pad. These document what was actually installed.
- Thermostat settings photos. Snap your thermostat’s active mode, setpoint, and any scheduling pages before you call.
- Your temperature-split test results. Return and supply readings from the phone thermometer test above, with times of day.
- The warranty paperwork. Manufacturer registration, labor warranty terms, and any installer-specific coverage.
If you’re considering a full replacement instead of a repair, our AC installation team can walk through what a properly commissioned install looks like, including the readings you should expect at handoff. And if the failed part is on the heating side, our furnace repair team handles the same brand-and-model documentation on the heating side. Single accountability across both halves of the system is one reason our customers don’t need two contractors.
Brand-Specific Notes: Goodman, Rheem, York, and Daikin
Brand doesn’t change the troubleshooting sequence, but it does change some of the details. We work on Goodman, Rheem, York, and Daikin systems regularly, alongside Carrier, Trane, Lennox, Bryant, and American Standard. What differs across brands is mostly in the setup parameters and the failure patterns we see most often.
Goodman systems show up in a lot of value-tier installations, and we’ve noticed undersized-return problems more often on those installs because the budget sometimes drove the ductwork decisions. Goodman equipment itself is straightforward; the fixups are usually airflow or commissioning.
Rheem units use a slightly different charge-adjustment procedure than some other brands, and the subcooling target on Rheem varies by model. An installer applying generic numbers can leave the system off-charge. Ask for the model-specific target in writing.
York equipment sometimes runs quieter than people expect, and we’ve seen homeowners assume a problem when the system is working normally. If your new York unit seems “too quiet” compared to the old one, that’s often a feature, not a fault.
Daikin systems have their own thermostat and control options, and configuration errors are the most common post-install issue we see. Getting the thermostat to communicate correctly with a Daikin system takes a knowledgeable installer, and if your Daikin isn’t responding to thermostat changes, that’s a configuration issue rather than a hardware failure most of the time.
The bigger picture: nine brands, one team. Whether you own a Goodman or a Trane, our technicians are certified on the major residential brands and can service what’s actually installed in your home. That matters most when a problem turns out to be a brand-specific commissioning error rather than a generic failure.
Common Mistakes to Avoid
- Accepting a system without commissioning readings. If the installer doesn’t hand you a startup sheet with subcooling, superheat, and static pressure, the install isn’t really done. Ask before the tech leaves.
- Calling the equipment “bad” before checking airflow. A weak-cooling complaint on a new system is far more often a return or duct problem than a failed part. Testing the temperature split first saves a diagnostic cycle.
- Letting a short-cycling system run all season. Short cycling accelerates compressor wear. In Sunnyvale’s mild springs, an oversized system will short cycle every afternoon, and that wear adds up fast.
- Skipping the load calculation because “the old one worked.” Sizing by the old unit’s tonnage skips the reason the old unit worked: a room-by-room calculation against actual conditions. Without it, you can end up oversized.
- Assuming smart thermostats are self-configuring. They aren’t. If the installer never opened the setup menu, the thermostat can misread your equipment and cycle the system badly.
- Reaching for refrigerant tools yourself. Charge adjustment on a new system requires gauges and training. This is a job for a technician, not a homeowner with a YouTube video.
- Waiting too long to document. Photos, model numbers, and thermostat settings get forgotten within weeks. Collect them while the install is fresh.
See the difference
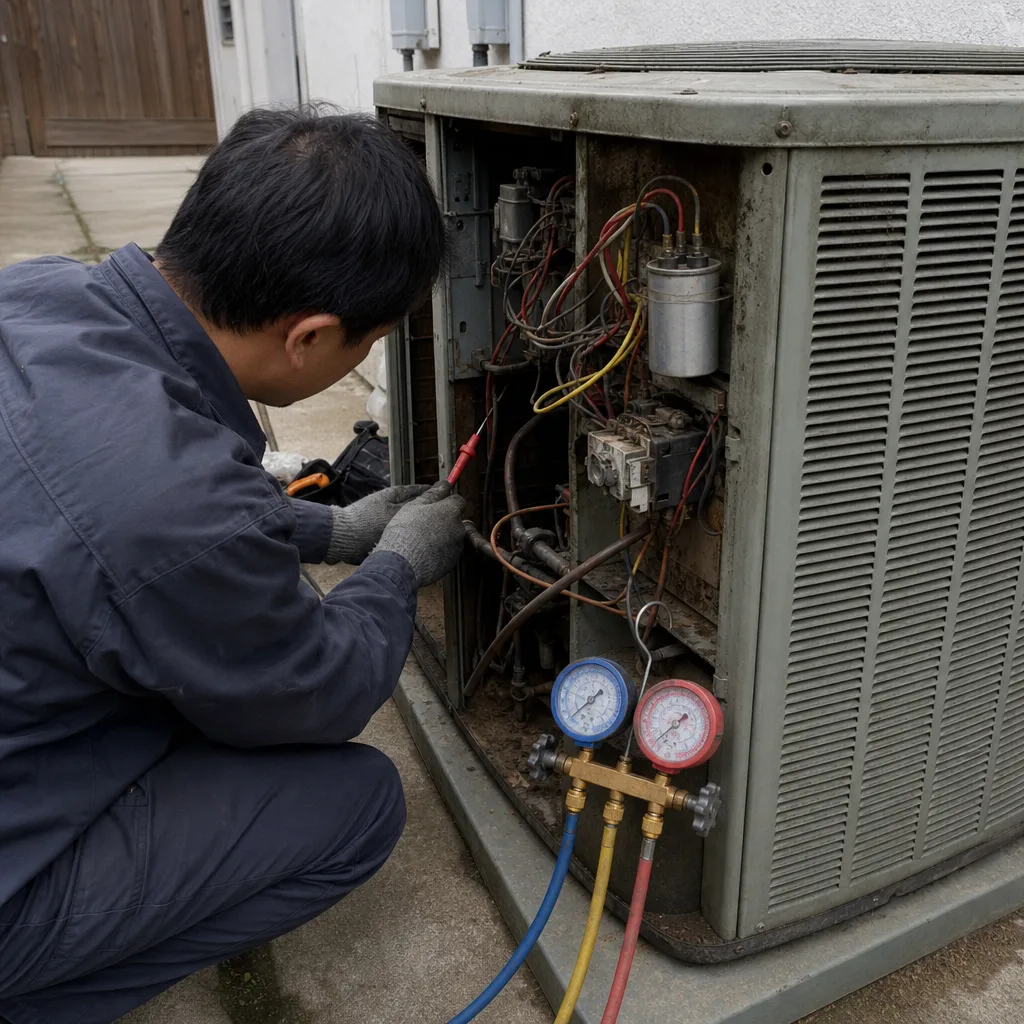 Before
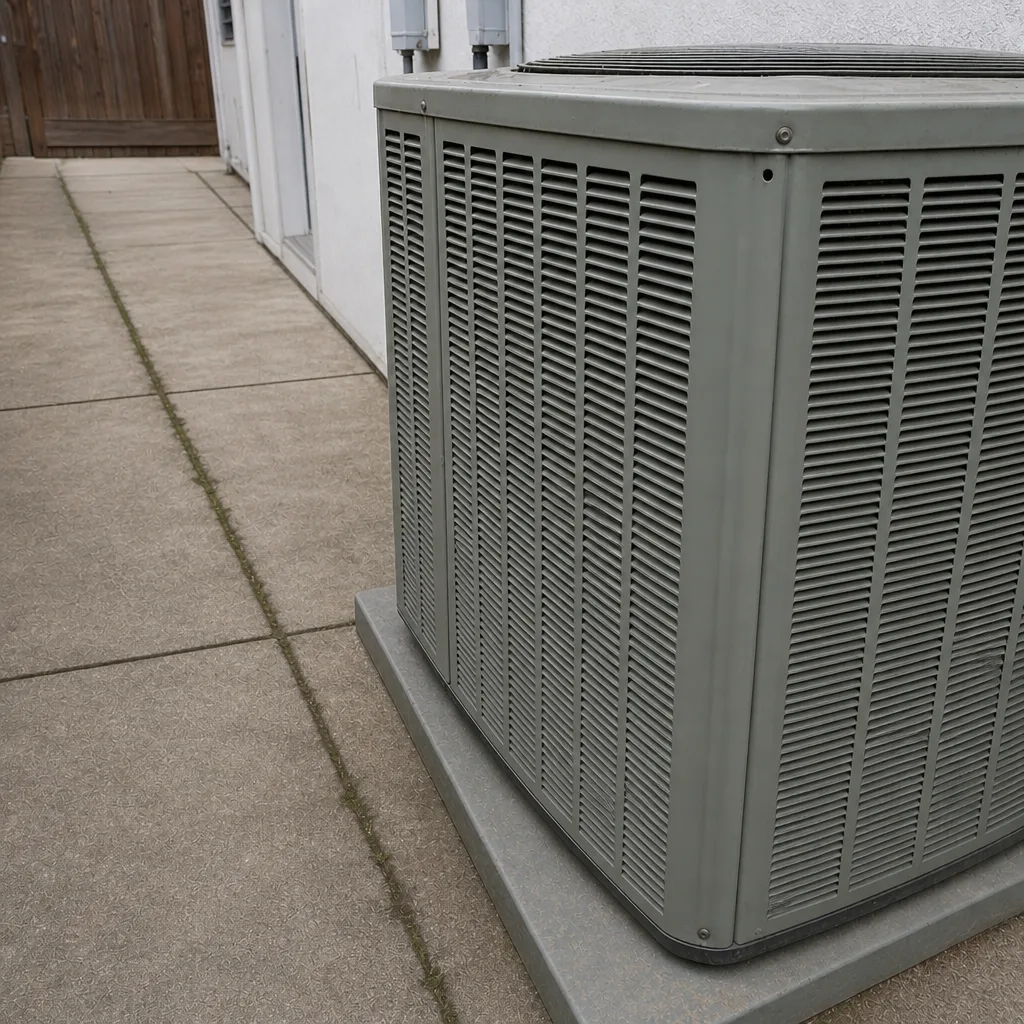 After
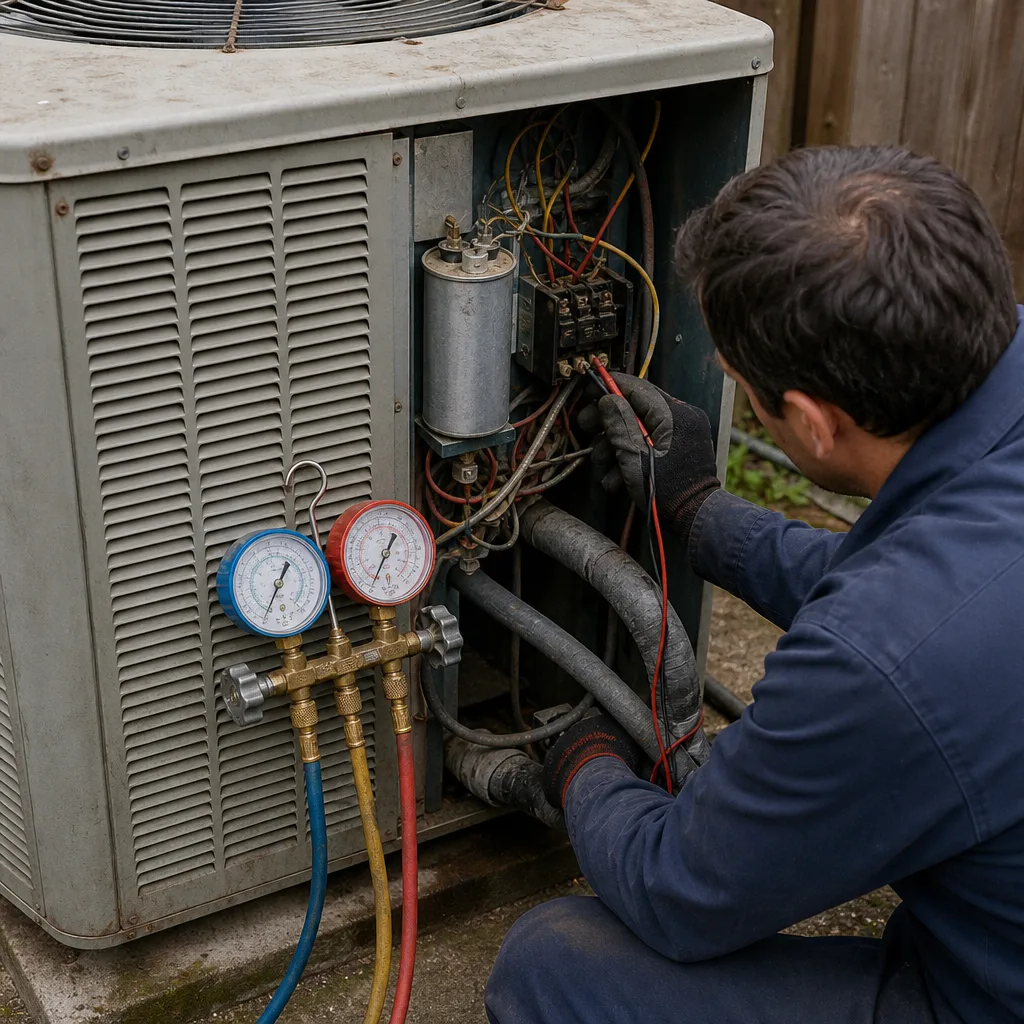 Before
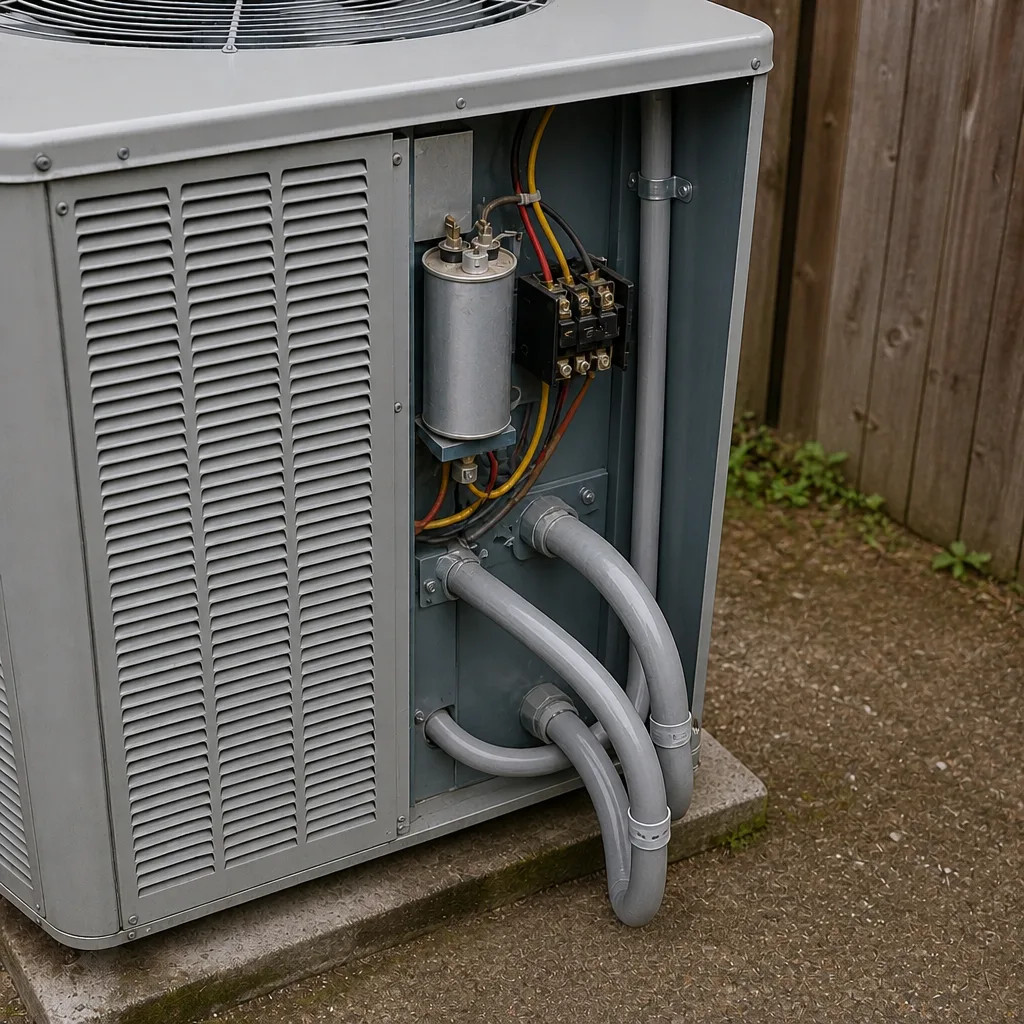 After
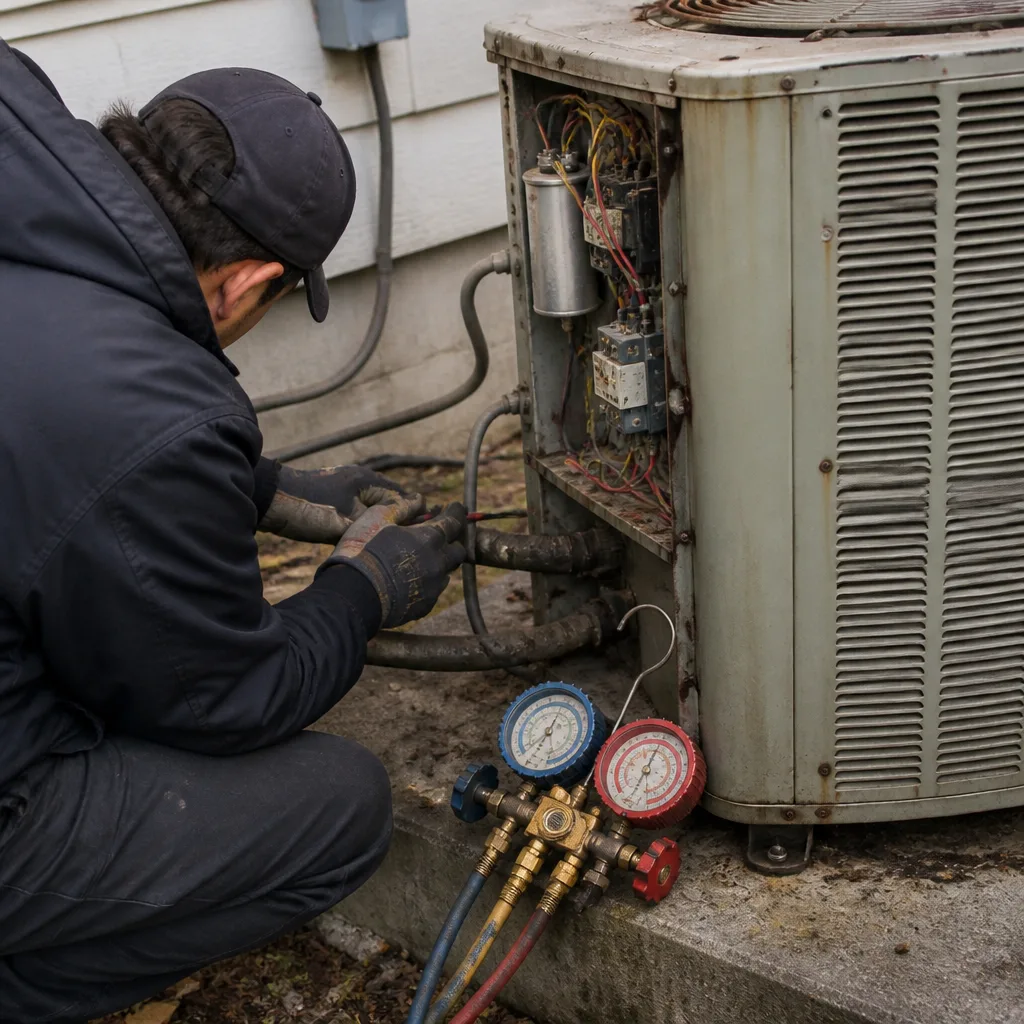 Before
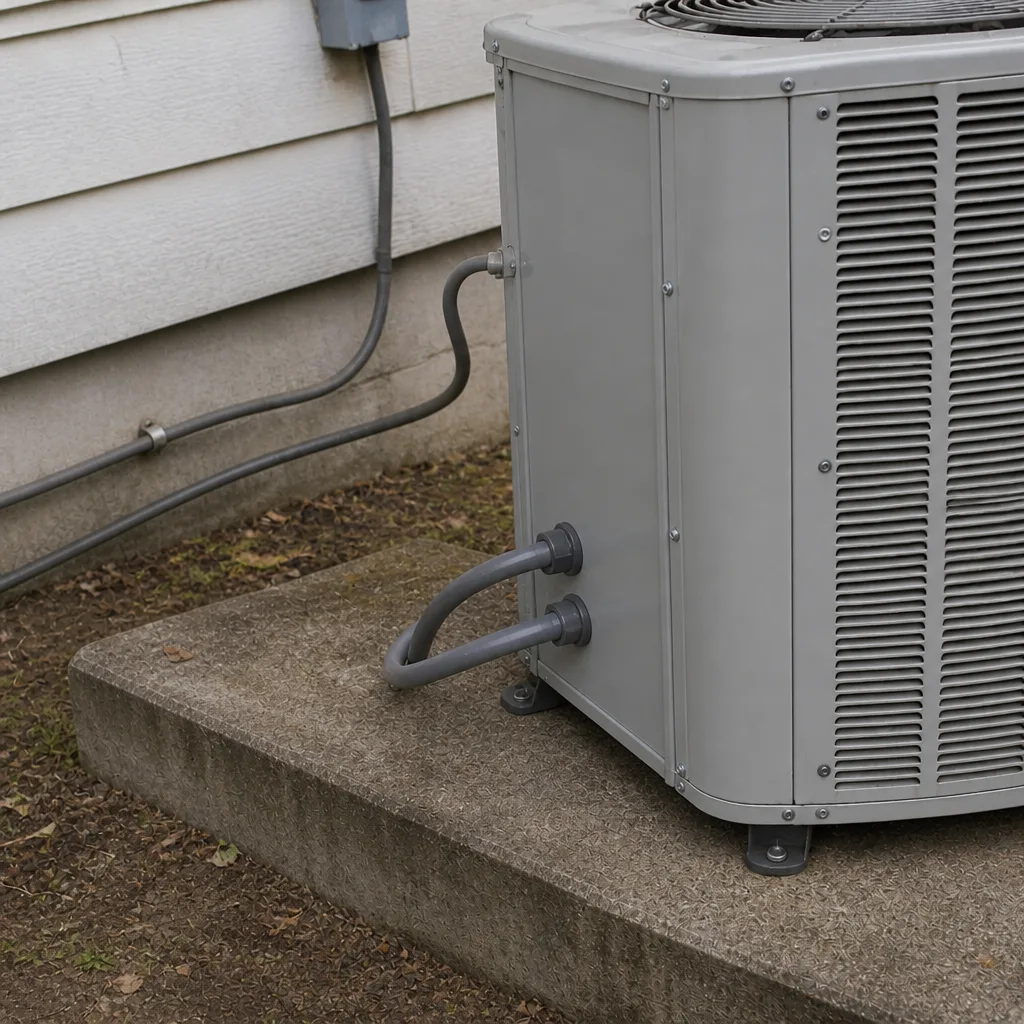 After
When to Call a Professional
Call a professional if the system shows any of these signs: you’ve run the temperature-split test and the numbers are below 15 degrees, the system short-cycles more than once every 15 minutes, the suction line is frosting, the outdoor fan runs with the compressor cutting out, or a technician’s commissioning sheet is missing entirely. Call immediately if you smell refrigerant or hear a compressor noise that sounds mechanical rather than electrical. Refrigerant is a regulated, pressurized substance and charge problems belong to a trained technician with gauges. If your home is in Sunnyvale and you need an honest read on whether the issue is installation or equipment, AC Repair Sunnyvale offers free estimates in Sunnyvale. Call (833) 573-8799.
Frequently Asked Questions
It’s almost always an installation problem. Constant runtime with weak cooling points to incorrect refrigerant charge, restricted airflow, or a thermostat reading the wrong spot. A factory defect usually shows up as a hard failure (no cooling at all, a failed compressor, a board error) rather than gradual underperformance. If the equipment is under a year old, get the commissioning readings from your installer before considering replacement.
The only reliable check is a technician measuring subcooling and superheat with gauges against the manufacturer’s target for your model. You can spot the warning signs yourself: long runtimes, clammy indoor air, and frost on the suction line. Add those symptoms to your call notes and ask for the subcooling and superheat readings in the service report. Call (833) 573-8799 for an exact quote if you want a second opinion.
No, not the underlying cause. Short cycling in Sunnyvale spring weather is usually oversizing, or a staging error on a two-stage system. You can check the thermostat and filter yourself, but the load calculation and equipment settings are the technician’s job. Ask your installer for the room-by-room load calculation; if they can’t produce one, you have a legitimate reason to push for a fix.
Ask for the model and serial numbers on both indoor and outdoor units, a startup sheet with measured subcooling, superheat, and static pressure, the target temperature split, and the room-by-room load calculation. Ask for warranty registration confirmation in writing. If any of those can’t be produced, hold the sign-off and ask why. Call (833) 573-8799 if you want a free estimate on a proper install instead.
You shouldn’t have to, and that’s the whole idea behind full heating and cooling under one contractor. When the heating side needs work, our furnace repair team handles it, and the same company is responsible for both halves of the system. One accountability line, one set of records, one call.
Yes, and they’re the fastest way to make your call productive. Run the temperature-split test with a phone thermometer. Photograph the model and serial plates. Check that the return grilles aren’t blocked. Note the times of day the system runs long. Those notes save diagnostic time and give you a precise way to describe the symptom. If the split is under 15 degrees, or the system is short cycling, that’s a technician call. For the AC repair side of Sunnyvale, AC Repair Sunnyvale can review your notes and schedule a visit. Call (833) 573-8799 for a free estimate.
The Bottom Line
Most post-installation AC problems in Sunnyvale aren’t mysteries. They fall into a predictable set of root causes: incorrect refrigerant charge from skipped commissioning, blocked return air, thermostat misplacement, and oversizing from a skipped load calculation. You can rule out several of them in ten minutes with a phone thermometer, a visual check of the return grilles, and a photograph of the equipment nameplates. That’s the difference between a vague complaint and a productive callback. Gather the paperwork before you call, ask for the commissioning readings if the installer didn’t produce them, and if the equipment is genuinely oversized, hold the installer to a load calculation. We answer 24/7. Fast dispatch from 7am to 7pm, Sunday through Friday.
Call (833) 573-8799 for a free estimate. Our technicians have up to 10 years of experience and work on nine of the major residential HVAC brands, including Goodman, Rheem, York, and Daikin, so whoever installed your system, we can diagnose what’s actually happening.
Written by the team at AC Repair Sunnyvale.